The Steel
It's been a long hiatus since the last post on this table - but - we can finally get to cutting some steel now that you've bought yours and it's been waiting to get sliced like a smoked ham at Christmas. The 'best' way to do that is using one of these:
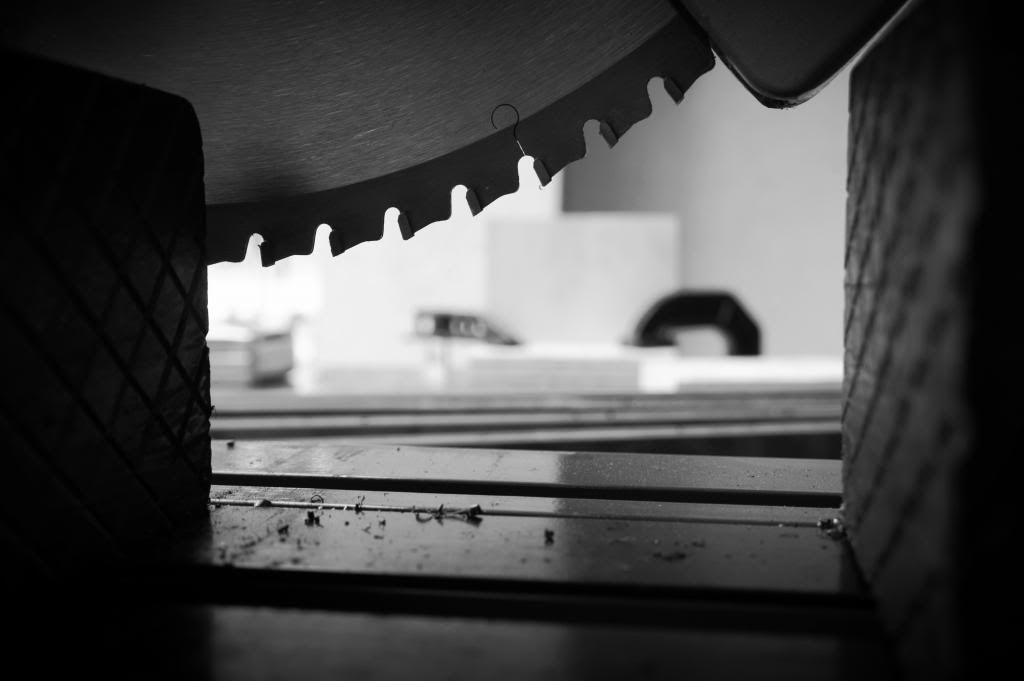
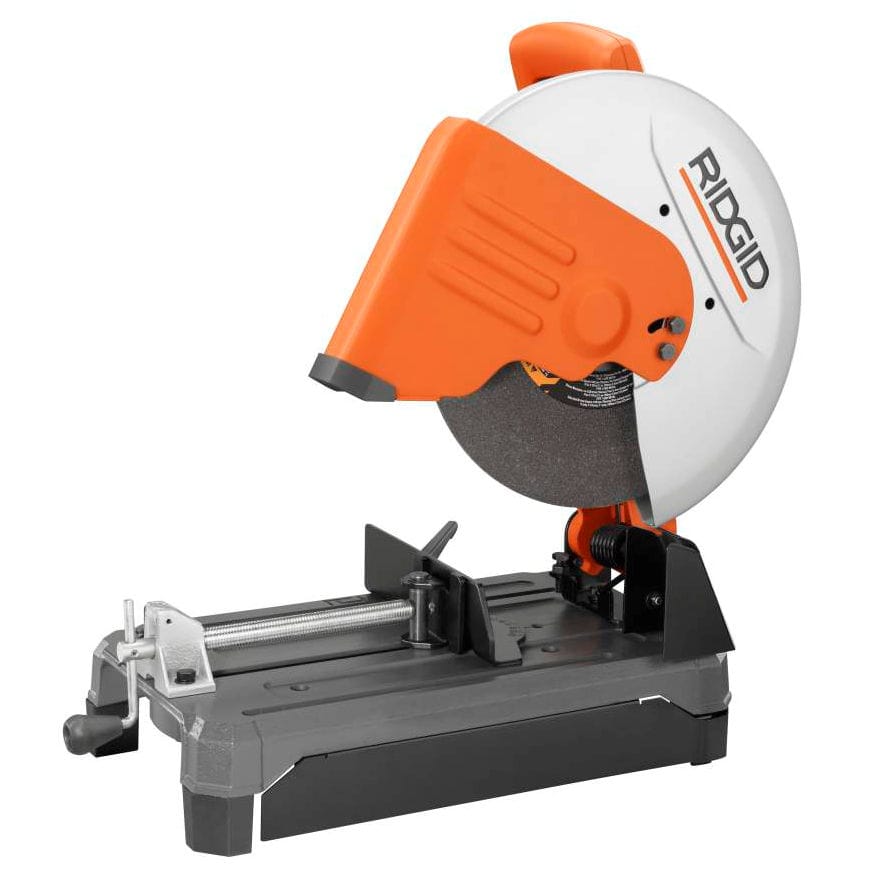
Let's talk about the word 'best'. The 'best' way label comes from the ease of setup and cutting speed of this saw. It's fast, it's accurate (see below) and leaves a nice machined looking finish. There are a lot of ways to cut steel bar stock - specifically A36 low carbon structural steel. This is the standard stuff that you see at most steel yards. Another great thing about A36 is that it welds quite nicely with any welding process - MIG, TIG, gas, stick, friction-stir, you name it. OK, back to cutting - this is a carbide metal dry-cut saw. It is commonly misnamed as a cold-cut saw because the metal is relatively cool compared with using an abrasive cut off saw. The key term here is relative - I challenge you to touch the freshly cut end of this bar stock after cutting it with this saw... I got my saw from Northern Tool. Don't worry, this isn't a plug for them; in fact I'm about to list the drawbacks of the saw.
- The saw head doesn't swivel to cut miters. This is common practice back from the old abrasive saw days. You have to swivel the fence instead. This is a pain because it involves two allen screws, a square, and wasted time.
- The base is stamped and not cast. It wants to walk away on you if it's not secured down. This thing has enough power to sling steel around and hurt you. Clamp the saw down. Period.
- A lot of people comment that it won't cut square. Of course it won't if you are using the factory stamped alignment dots. We already learned before that you have to square your saw up every time you set it up. Why would you trust a cheap saw to be accurate from the factory?? Once I got mine set up to cut square, it cuts perfectly square.
A few safety tips when using this saw:
- Do not cut anything that can't be clamped down with the integrated clamp. If you try this, the piece will sling out, get mangled, and embed itself into your skull. Don't rely on a clamp on the outside edge - the vibrations will cause it to come loose and this will happen.
- Do not use a lot of downward pressure - you will chip the carbide teeth and they will embed in your skull. You want to use just enough force that you minimize or eliminate sparks coming out of the back. This is a bit slower, but will make your blade and your life last longer.
- Lastly, use ALL of the recommended PPE for operating this type of saw.
- Lastly, lastly: do NOT use this blade on your woodworking miter saw! The Northern Tool saw shown here has a no-load saw speed of 1,300 RPMs - a comparable woodworking saw spins at 4,000 RPMs!!! You will sling the carbide teeth off of the saw and really wreck yourself!!
And because part of this site is about doing more with less (tools) here's a brief rundown of other ways to cut steel bar stock. Note that if you don't have a welder, whoever is doing your welding for you should have the proper cutting apparatus as well.
|


Set everything up like so:
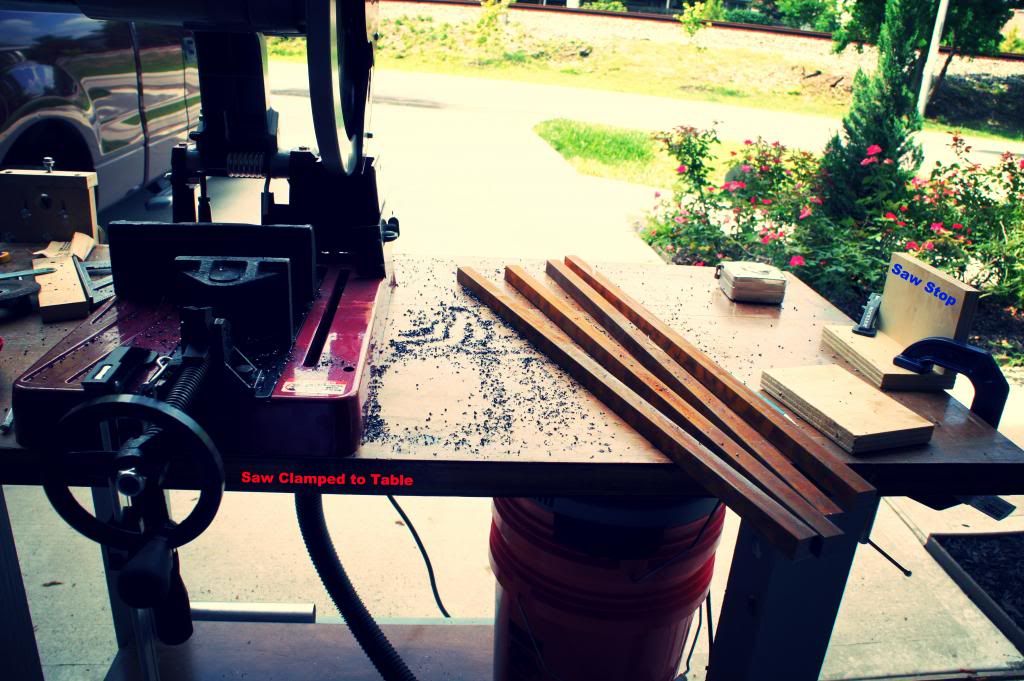 |
| Note the saw clamp and saw stop. |
Note that the saw is clamped to the table and that I built a saw stop out of 3/4" plywood. By now I've checked the blade and fence for being in square and true. The stop is just two pieces cut on the miter saw and assembled using some pocket holes and wood glue. As long as you don't slam your metal against it, it's more than rigid enough as a saw stop. I don't have any media of the saw in action but here's the process:
- Set up the saw stop. I cut the legs at about 26 inches long. When you are setting up the stop, be sure to measure from the carbide tooth and not just the blade. There is about a 32nd of an inch difference. Check and recheck this if you are building your parts to fit with something else. I had leeway here as I just needed the four legs to be the same length.
- Butt the metal up against the stop and clamp it down. Make sure it doesn't twist as you clamp it for some reason.
- Check that it's still square in the saw and against the fence.
- Squeeze the trigger and make contact with the metal. This is where you break teeth off of the blade.
- Cut through the piece trying to minimize sparks as you go. You'll find the sweet spot.
- Once you have cut through, let the blade stop on its own before you pull back. You want the blade to stop spinning while it's fully pressed down. If you don't follow this advice two things can happen: 1) Your freshly cut piece will tend to fall and can bind on the carbide teeth and either break one off; or 2) get caught slung around and hit you by the inertia in the saw blade. Have some patience here and let the blade stop before you move.
- Once the blade stops spinning, remove the cut piece, grab your feed stock, and butt it up against the saw stop as in step 2. Repeat.
You should come out with something that resembles this:

Now, you need to cut the cross braces. Use the same technique. I didn't do any fancy joints here, just cut them all square. When cutting rectangular bars, put them long edge up. You want to minimize contact area with the saw blade.
I'm not going to mention exact measurements because the table needs to built for your space. I custom made this one to fit just where it needed to go. When you figure the dimensions for the cross braces, just don't forget to subtract the leg dimensions. Why, you ask? Because it gets built with the cross braces butting against the legs. This makes it easier, in my opinion, to weld up square.
Bevel the corners for welding. Think about this before you go crazy with a grinder. I wanted solid bar so that I would have nice, crisp edges everywhere, versus the rounded edges of tubing. With that in mind, not every joint needs to be welded/beveled. Think about which pieces face out and plan your welds and bevels. We'll get into that later - I really don't want to open a discussion on welding technique..
Speaking of fitting this up for welding... If you've got the table, use this process:
For the rest of us I suggest laying out your shape on as flat of a surface as you have. Clamp one leg down to start. Using your framing square and some of those red magnets, put the next leg in position. Lightly clamp that leg down, or tack it if you don't have anything to clamp to. Move around the square until you get back to the original leg. Now you need to check the diagonal measurements of the square. This is truly the test of "squareness". The video below is not the best, but it does demonstrate the technique.
You want to build two of the squares, using up all of the vertical legs, and leaving four of the horizontal ones loose. Just tack the frame together for now. If you weld out just one one side it will distort the heck out of the frame. Once all of one side is tacked and checked for squareness, flip it over and tack the back side. Flip it back over and check it again! Now you can weld it out. You should get something, more or less, like this:
 |
| Note the undercutting. |
I won't cover the rest unless I get a specific question, but here is the shape that I ended up with:
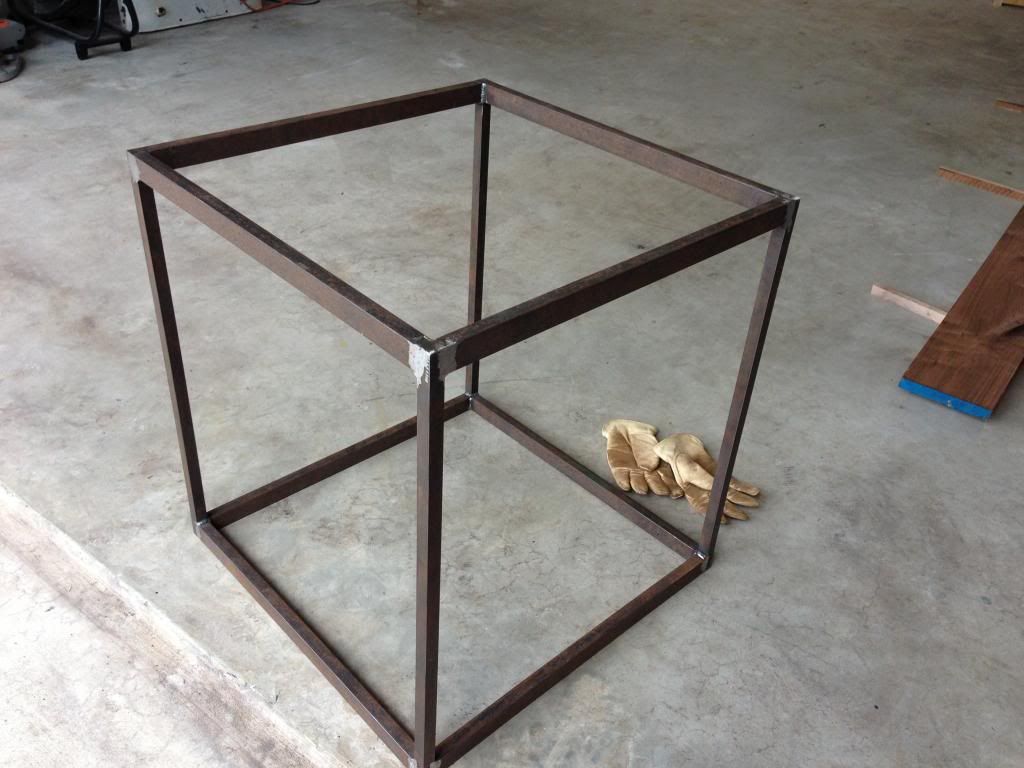
It came out within 1/32" square. Not bad for putting it together in one afternoon on a wooden table! Take your time, check and tack everything and it will come out fine! This is actually the easy part of the build; just wait until we have to start calculating wood movement and building a flat table top. Thanks for reading, as always - more to come!
When I sought after so that you can with thanks on your minute you give and as well as a result good send. There're about excellent guide us all. Good specifics! Ones imagining has become high quality matter. My partner and I desired this write-up about my personal forms and as well when I purchased the subsequent. You might follow-up kitchen renovation Really good specifics.
ReplyDelete