We are often plagued at work to be doing some kind of continuous improvement. The one we jump to, because it's easy, is 5S.
seiri, seiton, seiso, seiketsu, and shitsuke
For those whose command of the Japanese language are somewhat lacking, here are the rough translations:
sorting, set in order, systematic cleaning, standardizing, and sustaining
In a short amount of time this spring I acquired a collection of gardening implements. Naturally, I piled them all on the floor of the garage. Naturally, I tripped on them.
This wouldn't do.
I sorted them - easy, separate them into process units. Things that cut grass. Things that don't.
I set them in order. That's where the DIY comes in. And Lowe's.
Now, generally I hate things being exposed. Open shelves. Private parts. It's all like a zipper that isn't zipped to me. I prefer cabinets, drawers and smoke screens.
Not this time. This time I got Kobalt.
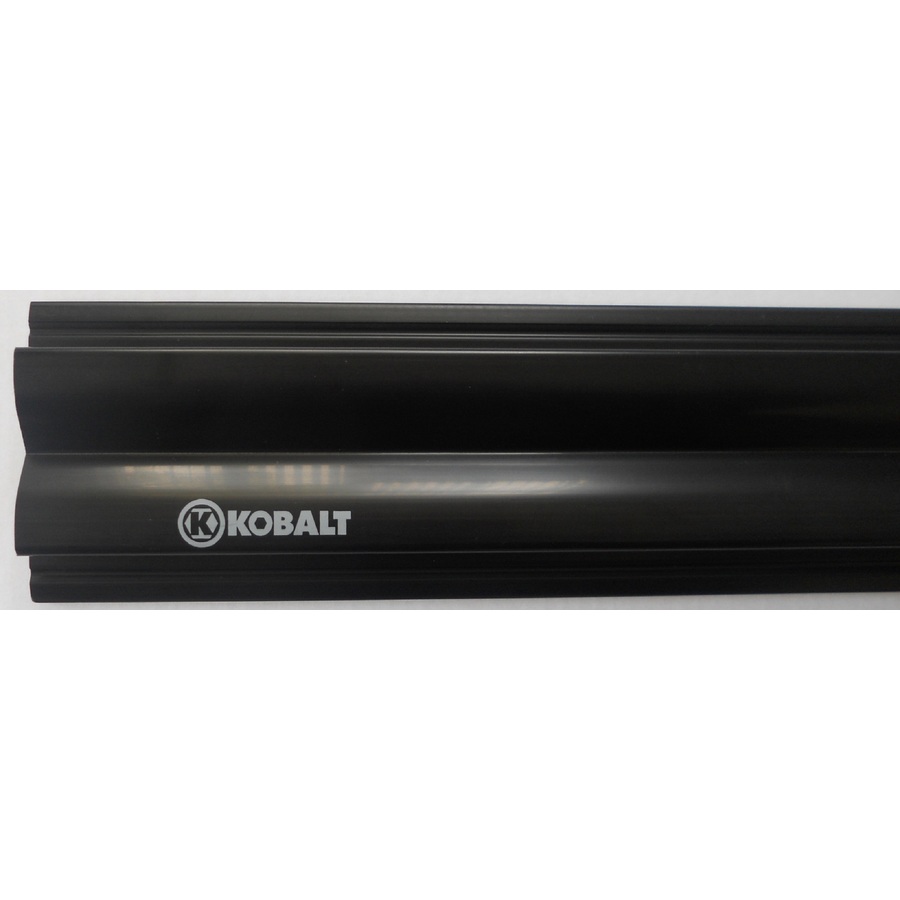
Here's why: It's easy, quick and fairly cheap. My only negative feedback is that it's only available in black. A 4' strip of this is about 10 bucks. The holders that snap into were the lowest priced of any of the other systems that I saw. I'm cheap, it's cheap - win win.
Lot's of hooks, shelves, baskets and kitchen sinks are available.

Here's the tip of the day when purchasing these types of systems - buy your own screws in bulk. The Kobalt brand ones are 3x the price of walking a few aisles down and buying some regular 2.5" drywall screws. I splurged and got the outdoor epoxy coated type because they have the torx heads. Easier to drive, less cursing. Win win.
You'll need a level and a stud finder to make this job go quick and easy. Bear with me now - first blog post so I don't have a lot of pictures. Failure noted.
They key part of installation is to make sure it's high enough on the wall so that when you hang your weedeater, it doesn't touch the ground. You've been warned.
Find and mark your studs.
Start one screw in the top corner. Don't drive it all the way through. Put the molding against the wall, put the level on it, and with your third hand, drive in the first screw until it catches in the wall stud. That was a trick, you don't need the level yet. Don't tighten the screw all the way - now put the level on it, get it set, and screw it in on another corner.
Cinch it down. This rack is rated for 75lbs per linear foot if you use the prescribed screws and spacing. The only issue I see is that if you want to put two side by side you will need to offset each one so that the ends can be toe-nailed into the stud where they meet.
Voila.
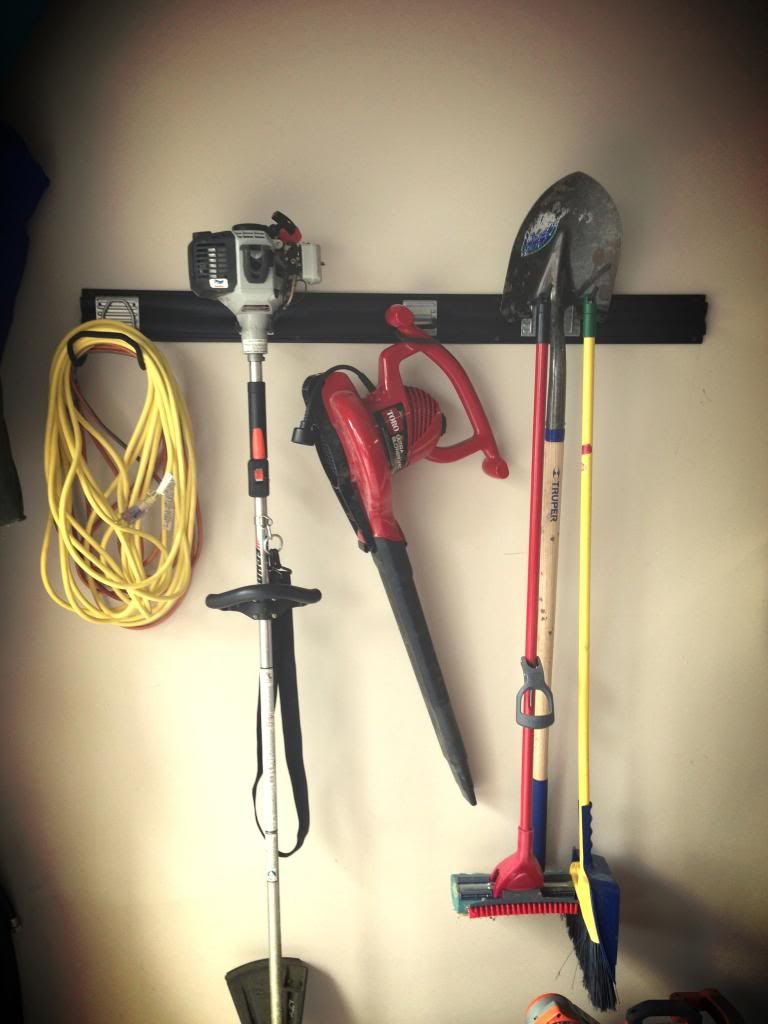
More quick tips: the advertised weedeater holder isn't long enough to hold a decent sized weedeater. I ended up using the double rod holder designed for shovels. That relegated my shovel to using the two single hooks placed side by side.
Slightly organized, some of the S's used, to be determined whether or not it's sustainable.
Project cost: ~$40
Project time: ~20 minutes
Let's see your garage wall organization!