Thursday, June 20, 2013

Measuring and Layout

I got to thinking about how I wanted to kick off my first real "How To" project on the blog and decided that I needed to introduce a few basics (for me at least) first.  By basics I don't mean to imply how to use a screw driver or a hammer, but how I like to create precise and professional work by using good measuring tools.

This will probably be a running series to cover some history (for the nerds), the what and finally the how.  It won't be all encompassing or even cover really precise measuring techniques like those found on one of my favorite blogs: Nothing Too Strong Ever Broke.  Tom covers some really in depth and complicated measuring techniques that are often unique to the machining industry.  For our purposes (usually) we don't need to be quite that precise.

What, you don't have a three foot micrometer?
Metrology, or the science of measurement, is a pretty broad field.  Fortunately for us we are generally only concerned with length, or variants of it, such as depth or height or diameter.  We will not be having a discussion over the imperial or metric systems or which brand of what does this or that better.  If we meander long enough on the topic we'll get into tolerances, but, it's not generally an issue for DIY projects around the house.  Other useful topics we will venture into are accuracy and precision.

Speaking of accuracy and precision... Everybody has seen the graphic with the darts or arrows to visually define accuracy and precision.

I play darts in quadrant "C".

Engineers and mathematicians think about accuracy like this:

That's what I'm talking about.

What do all of these warm and fuzzy graphs mean for us: a guy trying to create something on the cheap that still looks professional?  It means we need our measurements to be accurate and our cuts to be precise.

Oh yeah, you think, "Measure twice and cut once."  Sort of.

Generally one needs to accurately measure a dimension and turn it into a precise mark on a piece of raw material followed by making a precision cut.  The "how" part will come later in the series.

Later on I'll take a look at several of the common measuring and layout tools that I use, and some I wish I had.  I'll cover how I use them and some of the tips and tricks I've learned along the way.  Another series will cover jigs and templates for repeatable precision for professional results.

Making great looking pieces and professional looking projects starts with accurate layout and measuring.  We need good tools to measure accurately, and more importantly, create accurate jigs and fixtures for repeatable excellence.

I believe accuracy and precision are the hardest parts of turning a DIY project into Pro level masterpiece that your friends and family will be in shock and awe of.

Meet Shock.  And Awe.

I find that a lot of people lack the patience for this part of construction and get bogged down and frustrated when their project starts to look bad due to gaps and poor fitment.  Stay the good fight and just walk away when you get frustrated!  Careful attention to detail and a few good, basic measuring tools can fix that and turn your projects into a roaring success.

Devil's in the details.

Next time I'll do less rambling and more production with a look at what I use to measure accurately and mark precisely.

Saturday, May 25, 2013

Easy Garage Organization

Let's talk about organization.  The bane of an engineer's desk, the curse of filing systems and Outlook email (why can't I archive it already?) and the best way to have peace of mind.

We are often plagued at work to be doing some kind of continuous improvement.  The one we jump to, because it's easy, is 5S.  

seiri, seiton, seiso, seiketsu, and shitsuke

For those whose command of the Japanese language are somewhat lacking, here are the rough translations:

sorting, set in order, systematic cleaning, standardizing, and sustaining

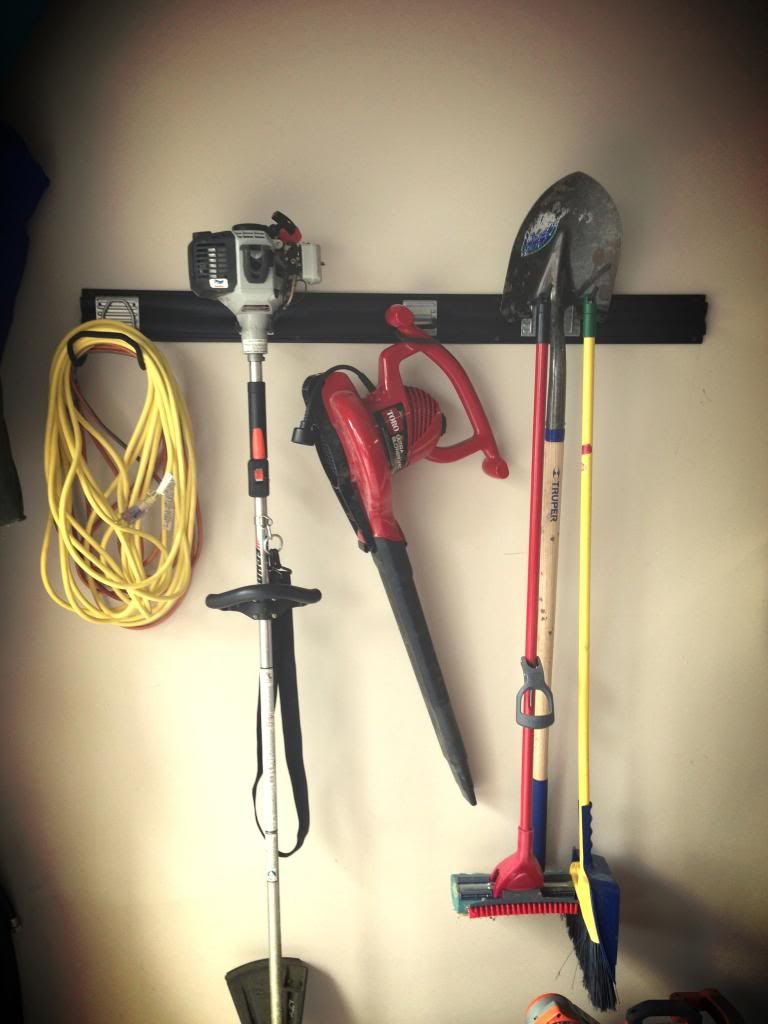
In a short amount of time this spring I acquired a collection of gardening implements.  Naturally, I piled them all on the floor of the garage.  Naturally, I tripped on them.

This wouldn't do.

I sorted them - easy, separate them into process units.  Things that cut grass.  Things that don't.

I set them in order.  That's where the DIY comes in.  And Lowe's.

Now, generally I hate things being exposed.  Open shelves.  Private parts.  It's all like a zipper that isn't zipped to me.  I prefer cabinets, drawers and smoke screens.

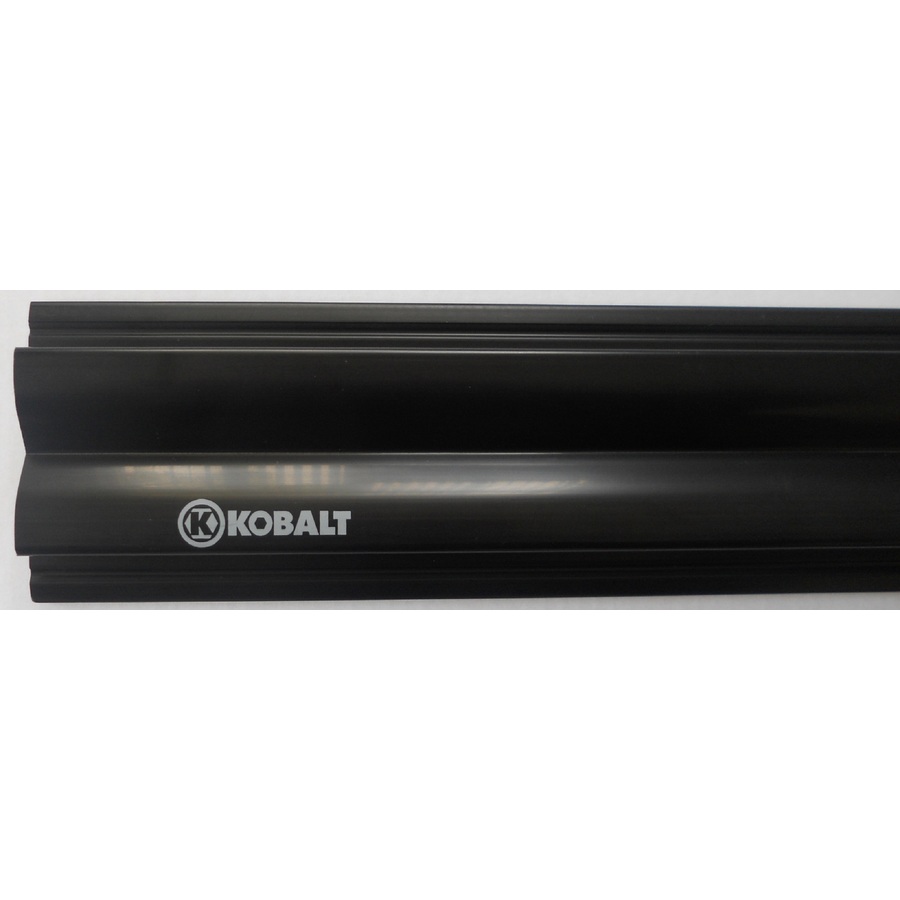
Not this time.  This time I got Kobalt.
Here's why: It's easy, quick and fairly cheap.  My only negative feedback is that it's only available in black.  A 4' strip of this is about 10 bucks.  The holders that snap into were the lowest priced of any of the other systems that I saw.  I'm cheap, it's cheap - win win.

Lot's of hooks, shelves, baskets and kitchen sinks are available.


Here's the tip of the day when purchasing these types of systems - buy your own screws in bulk.  The Kobalt brand ones are 3x the price of walking a few aisles down and buying some regular 2.5" drywall screws.  I splurged and got the outdoor epoxy coated type because they have the torx heads.  Easier to drive, less cursing.  Win win.

You'll need a level and a stud finder to make this job go quick and easy.  Bear with me now - first blog post so I don't have a lot of pictures.  Failure noted.

They key part of installation is to make sure it's high enough on the wall so that when you hang your weedeater, it doesn't touch the ground.  You've been warned.

Find and mark your studs.

Start one screw in the top corner.  Don't drive it all the way through.  Put the molding against the wall, put the level on it, and with your third hand, drive in the first screw until it catches in the wall stud.  That was a trick, you don't need the level yet.  Don't tighten the screw all the way - now put the level on it, get it set, and screw it in on another corner.

Cinch it down.  This rack is rated for 75lbs per linear foot if you use the prescribed screws and spacing.  The only issue I see is that if you want to put two side by side you will need to offset each one so that the ends can be toe-nailed into the stud where they meet.

Voila.

More quick tips: the advertised weedeater holder isn't long enough to hold a decent sized weedeater.  I ended up using the double rod holder designed for shovels.  That relegated my shovel to using the two single hooks placed side by side.

Slightly organized, some of the S's used, to be determined whether or not it's sustainable.

Project cost: ~$40
Project time: ~20 minutes

Let's see your garage wall organization!


Tuesday, July 21, 2009

An Introduction

A little bit of history about me and the rationale behind this blog.

I graduated in 2010 with a degree in Mechanical Engineering.  I'm not a typical design engineer in the sense that it's not my day job - nor was I particularly good at Computer Aided Design in college.  It just kind of bored me.  Instead I focused on heat transfer and thermal systems and went to work doing none of that.

As one does.


More my style of studying heat transfer.

I was raised in a DIY family with my dad building a few of the houses and barns we lived in and had.  In that order - not barns we lived in and houses we had.  Naturally I learned framing and roofing, and was pretty good at it - landing myself some jobs here and there doing that kind of work during school.

I also dabbled in steel and found my way one summer to a racing shop in Charlotte, NC building some pretty cars in some pretty nice shops.  Along the way I learned to paint and worked for a while building custom hot rods.

Enter DIY TV shows and the crazy (and often ugly) stuff they do on there.  I believe that there are some good things and am glad they get people off the couch and creating things.  But there's a lot of garbage out there too.  Whether it's unrealistic expectations about budget, work load or skills required - people are confused.  Now we are starting to see shows about disasters, come help me, save my house or whatever because of big dreams turned nightmares from a lack of proper instruction.


I hope to help that.  This site intends to be a refuge for the DIY, OCD, curious autodidact that wants to create something that looks good and will last through your children's toddler years.  Questions are encouraged if explanation is lacking.  I'll add in some details and try to answer the "why" for the hidden engineer in everyone.  Maybe some math to make it confusing.  I don't claim to be the expert, but I'll attempt to show the best practice method.  Comments are welcomed.  Let's talk about it as a community and really create something meaningful.

Naturally, no offense to those of you who have been halfheartedly building every trinket you see on that site that start with Pin and ends with no- "interest."